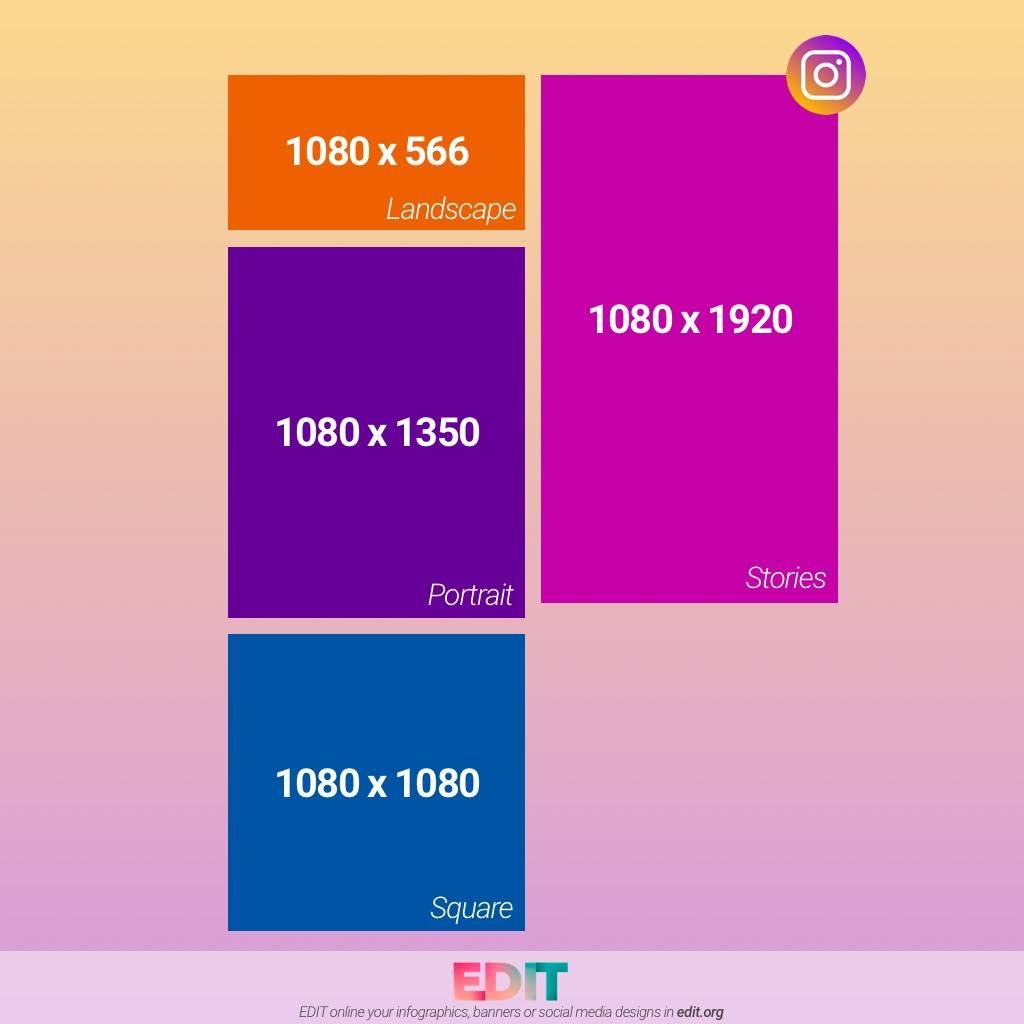
What is the perfect Instagram photo?
Yeah we all know it concerns the lighting and the angle, hmmm but the question is how? What are the ways to find your best Instagram angles and lighting?
Tip #1
Before you press the capture button, try to conceptualise the image in your mind. You can also scroll through your feed to find out the exact style you want to capture. That will make you understand more about yourself and things you can achieve with your looks and body.
Here’s some visual examples:
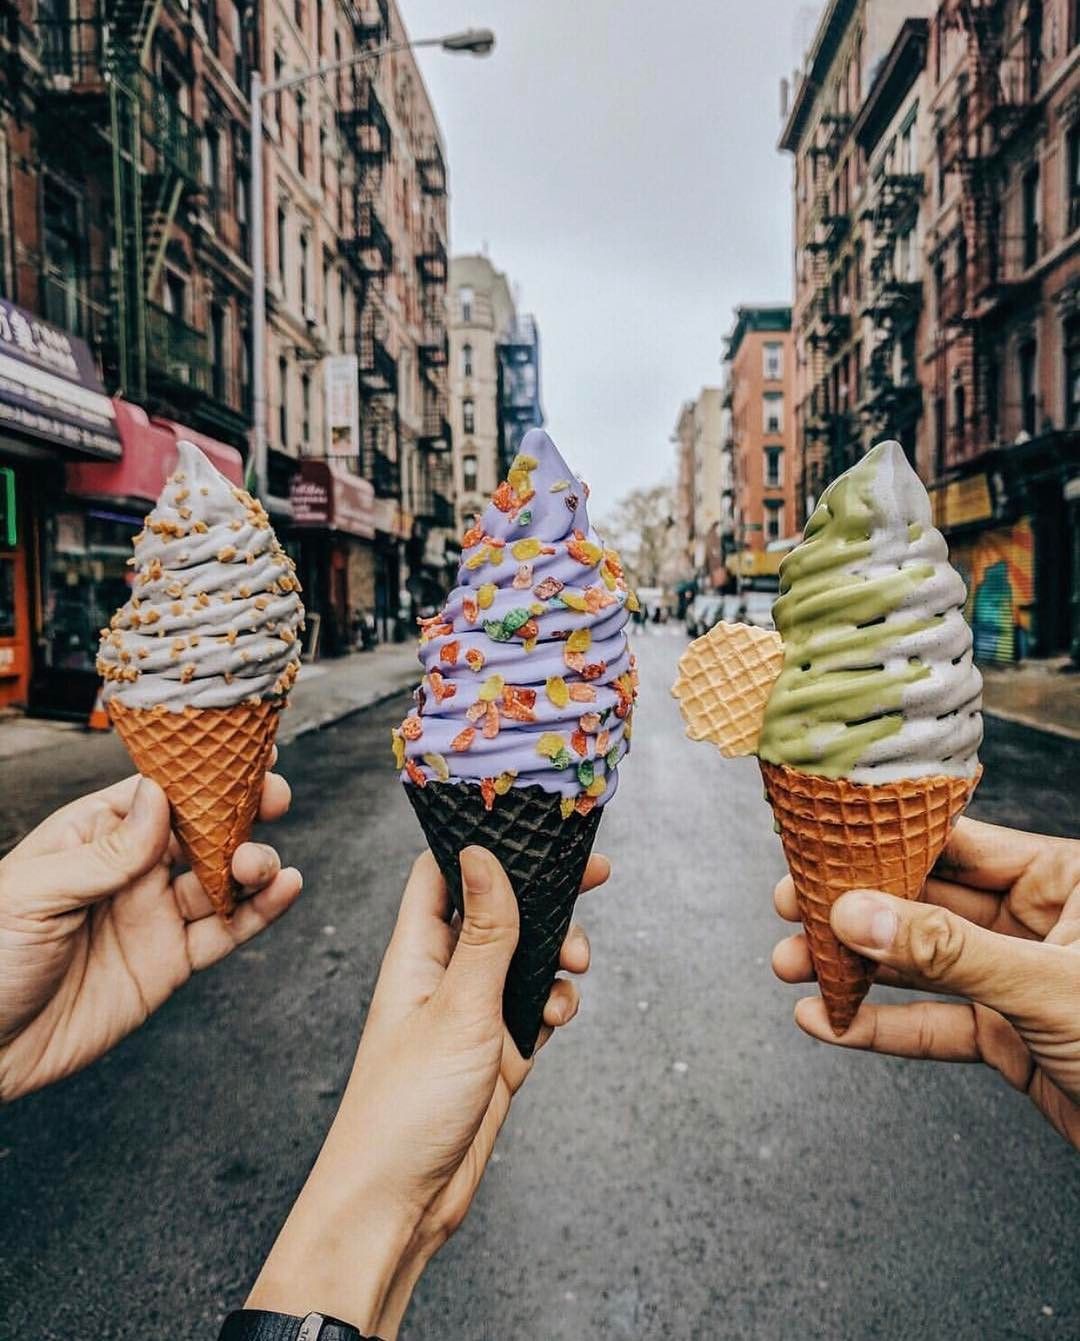
Food + travel
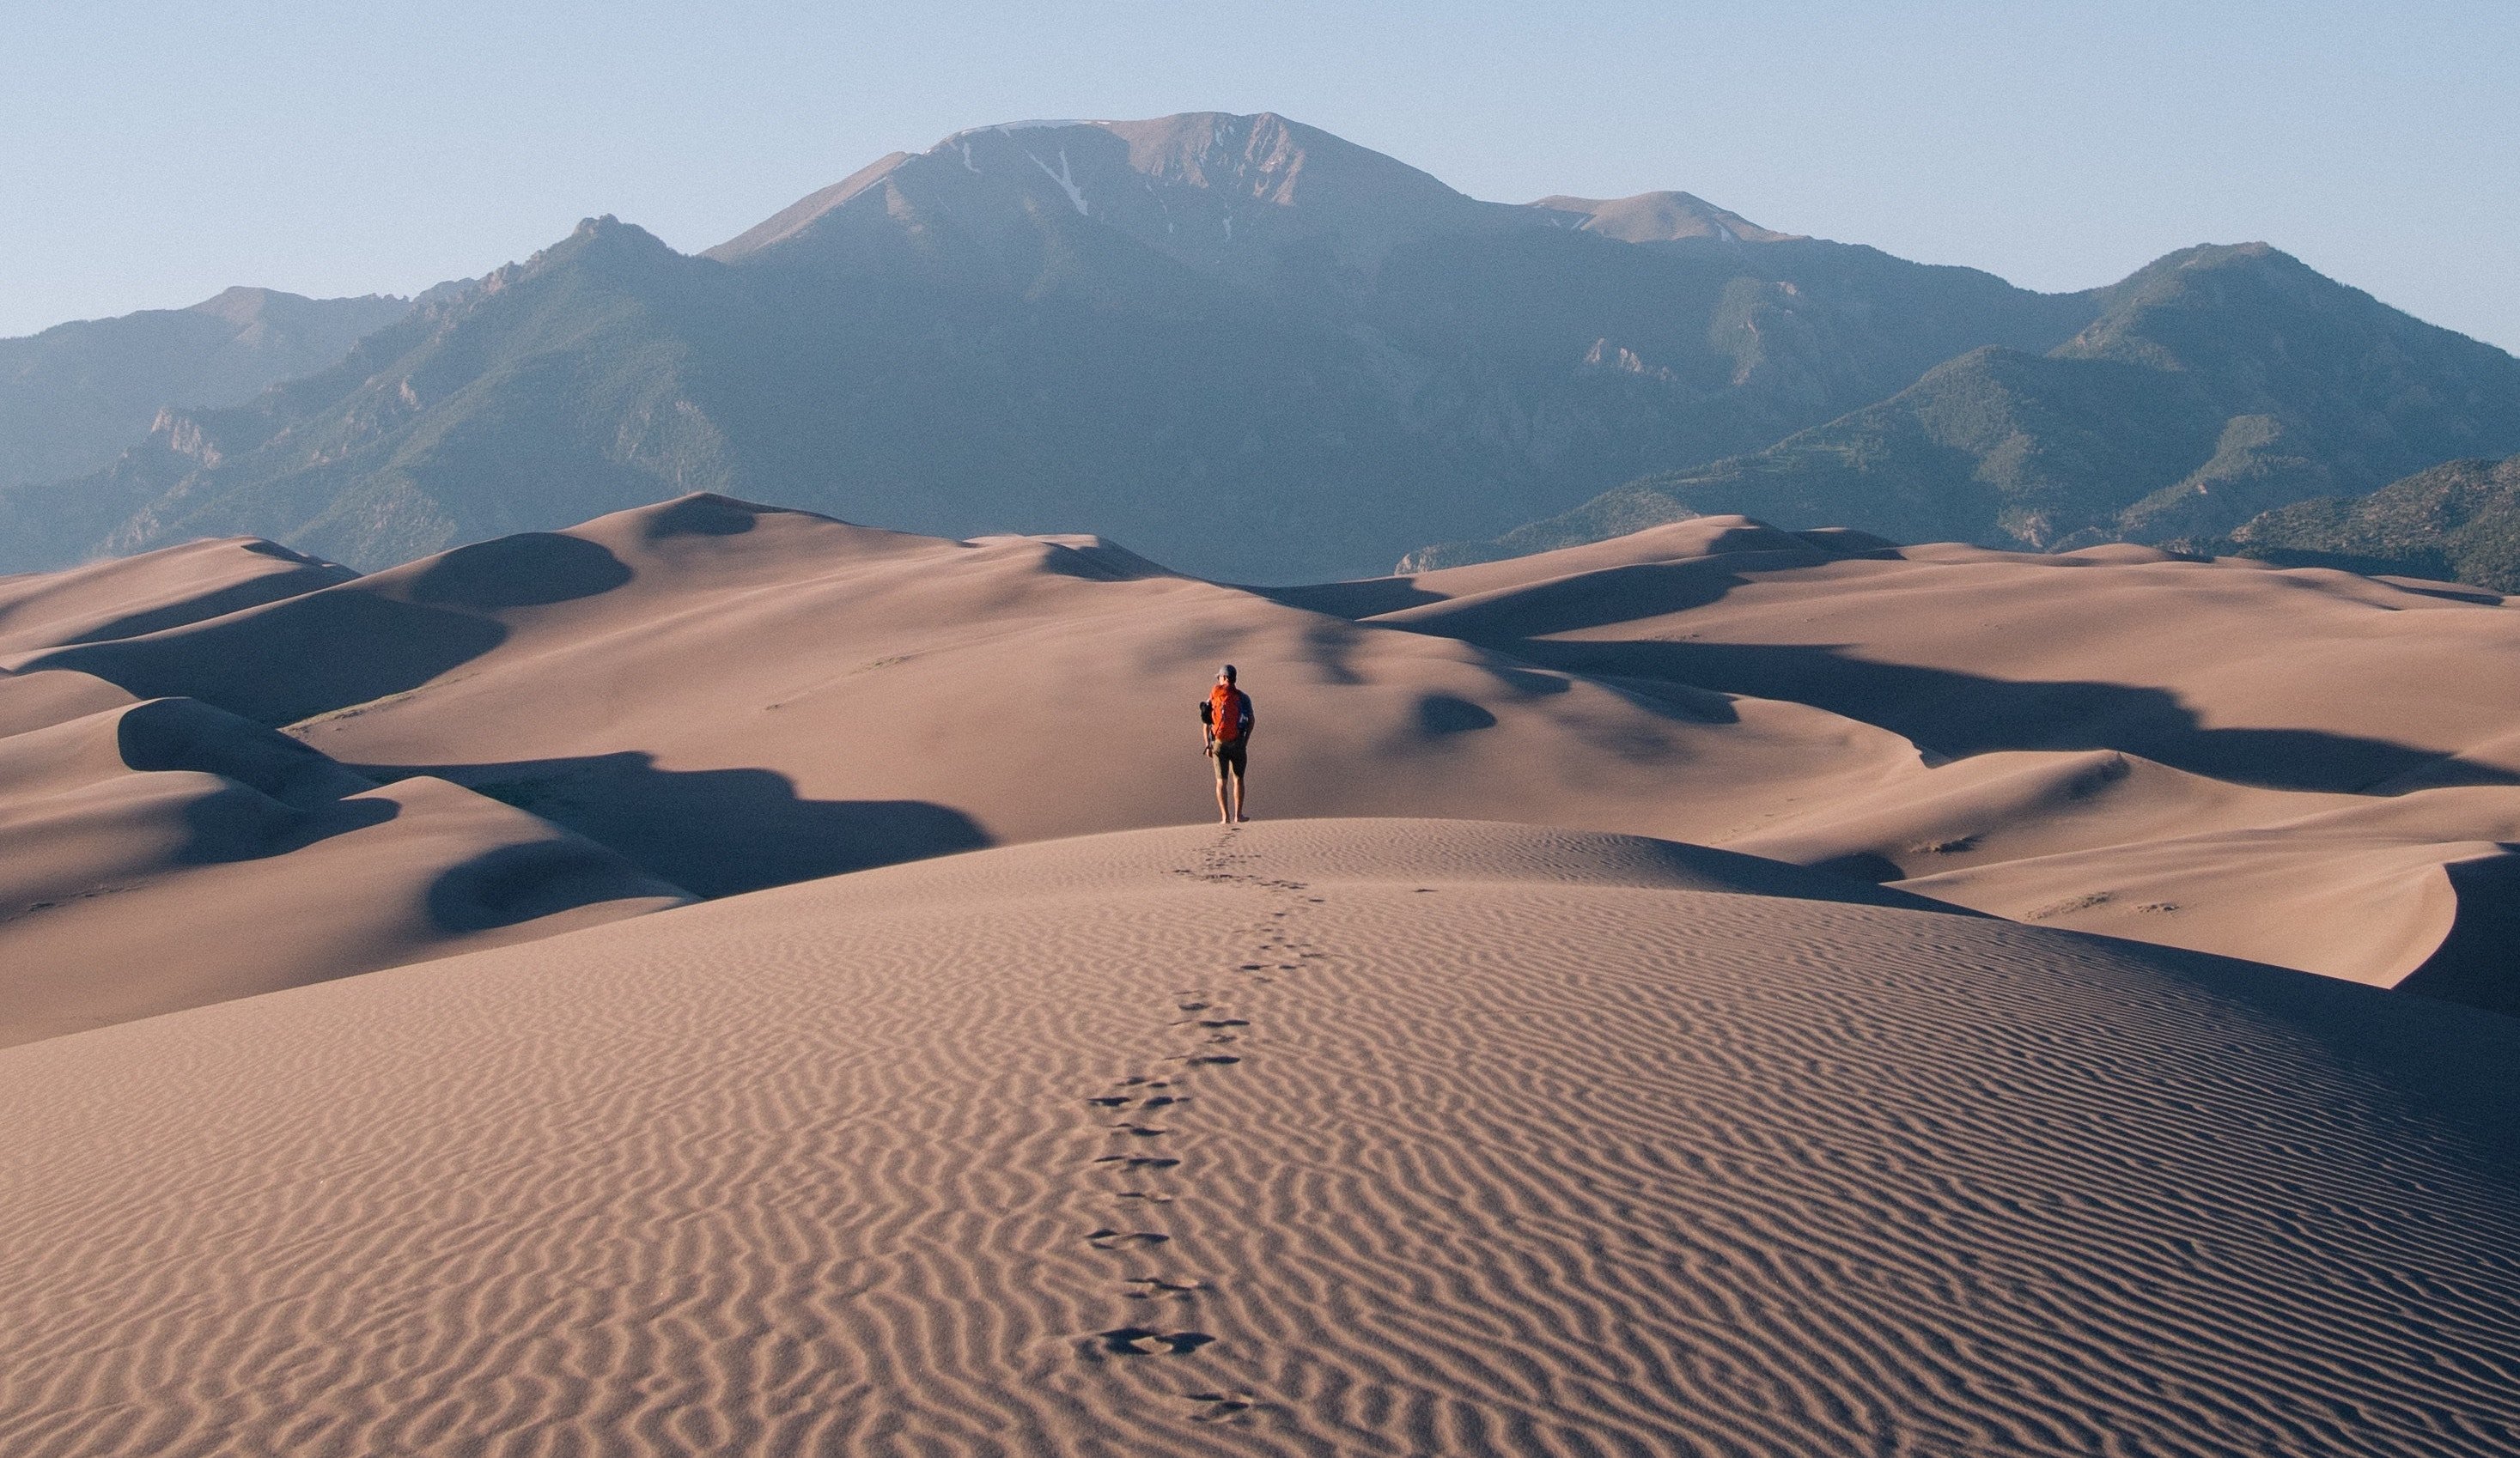
Landscape
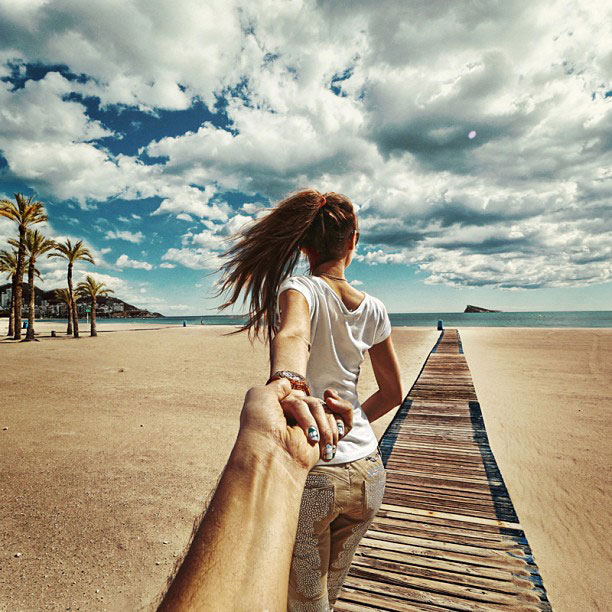
Backview
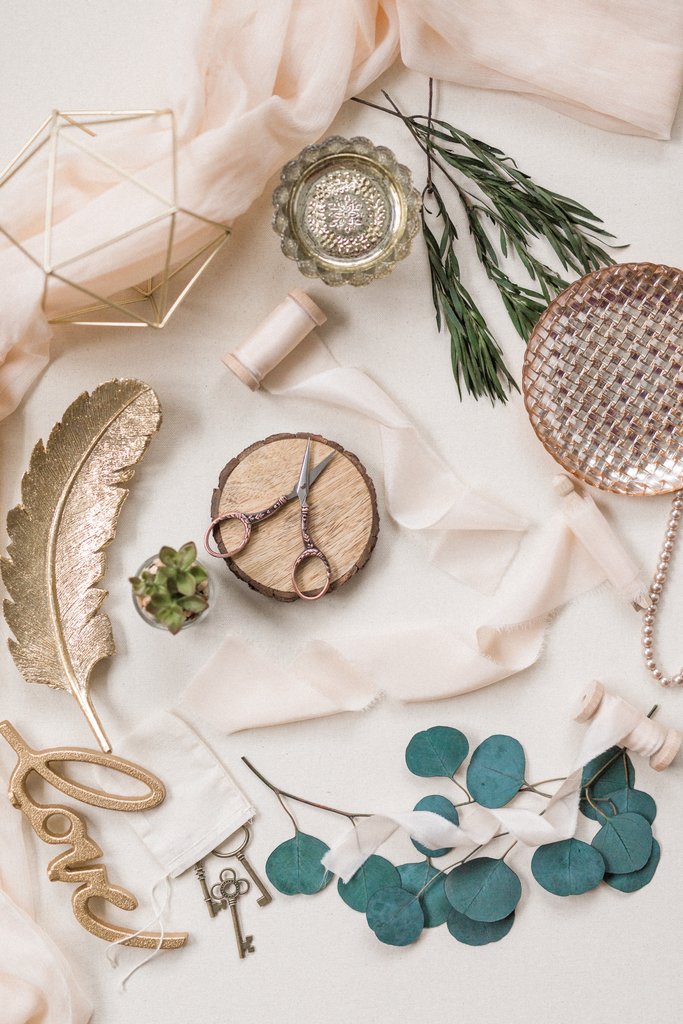
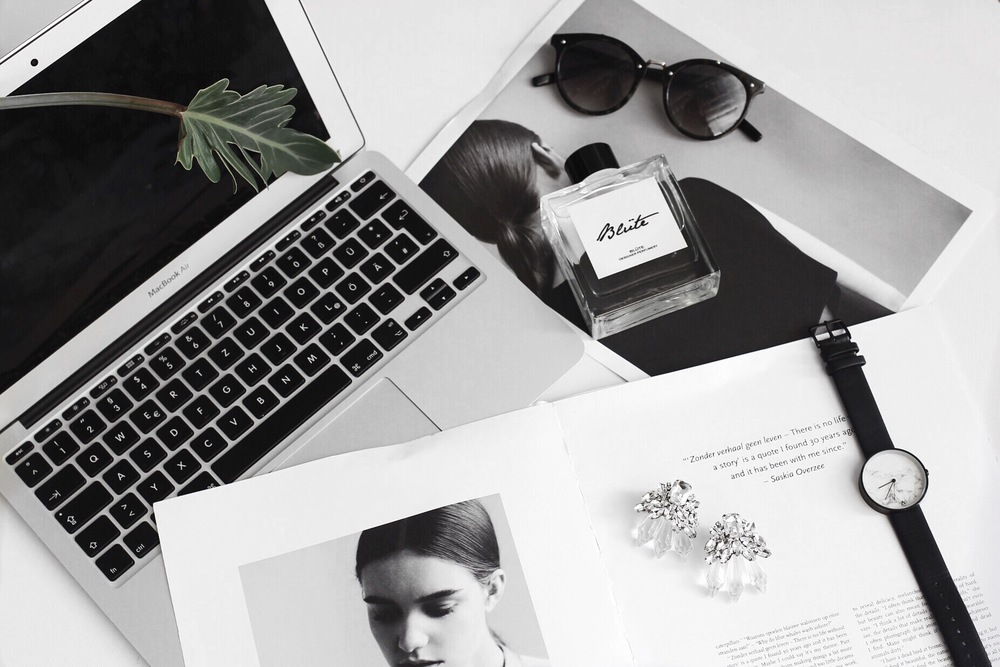
Flatlay
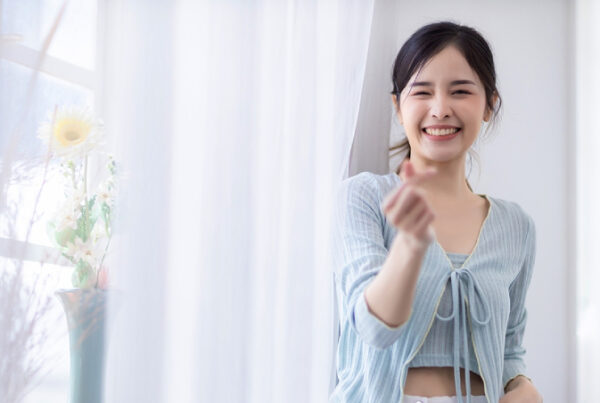
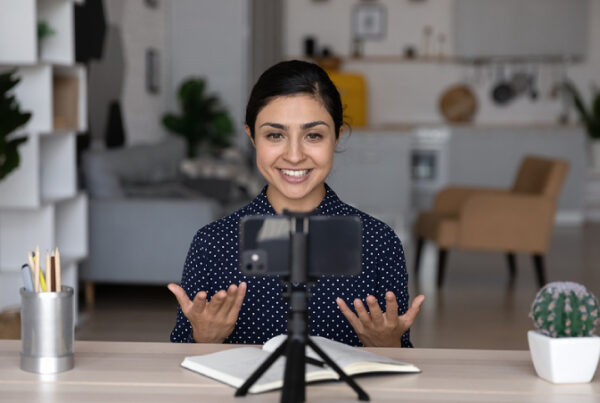
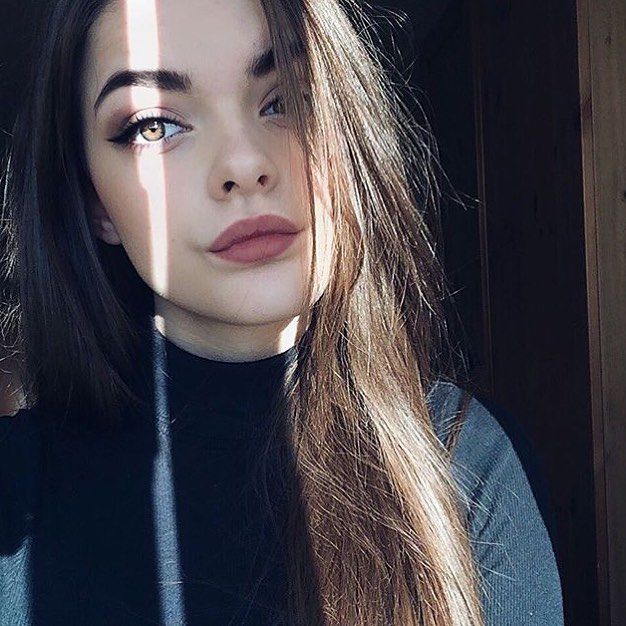
Selfie
Here are some photo inspirations to save you the scrolling.
-
Flatlay

Good things take lots of practice and hard work, the perfect top Instagram angle offers a lot of interesting perspectives. It forces you to be more detailed and put more considerations in your photos. As the name suggests, you capture the top view. To do this, you may have to stand on a chair or take photos from a high enough angle for full comprehensivity. As we suggest earlier, you can add items and customise your background because every single item plays a massive role in the entirety of the photo. Experiment with different items and capture these photos. Choose the one you think looks the best and start working towards the direction.
-
Natural light
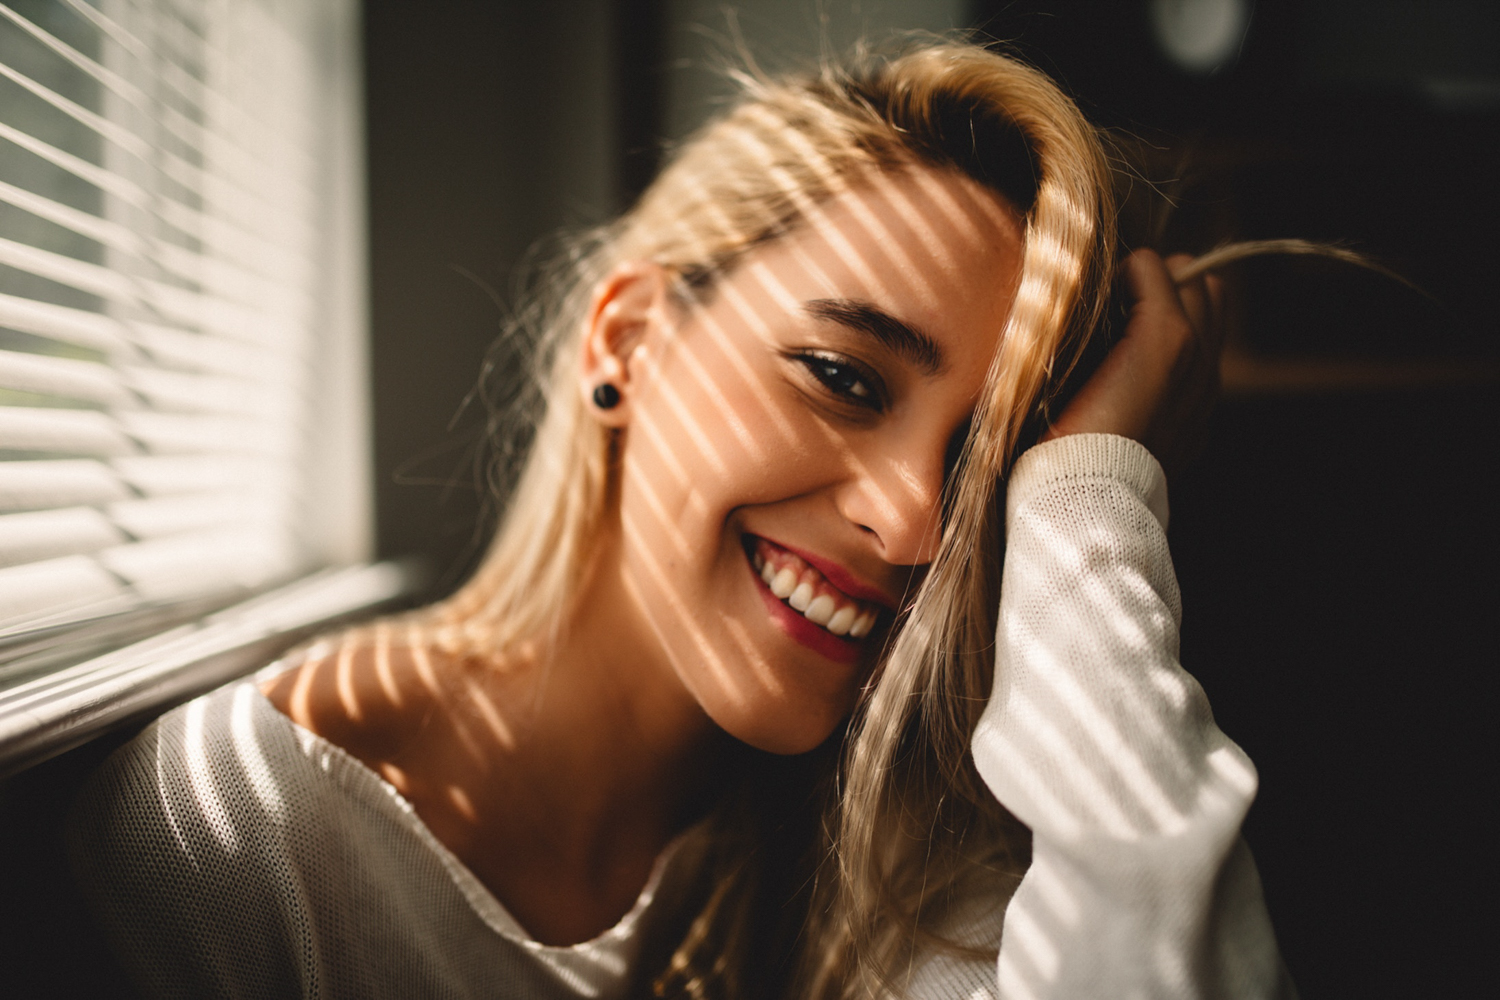
We cannot emphasize how important lighting is in photos. Natural light provides one of the best lightings you can ever have. Do you know that the golden hour has the best lighting? Lighting an hour before and after sunrise and sunset are great timings to catch the golden hour.
When the light is too harsh (e.g. afternoon), pictures may appear too warm (yellowish) with many disturbing shadows. It is commonly known as the ugly yellow effect, that makes editing a chore too. When you are shooting photos in the dark, e.g. at night, consider using white light as it reflects brighter.
-
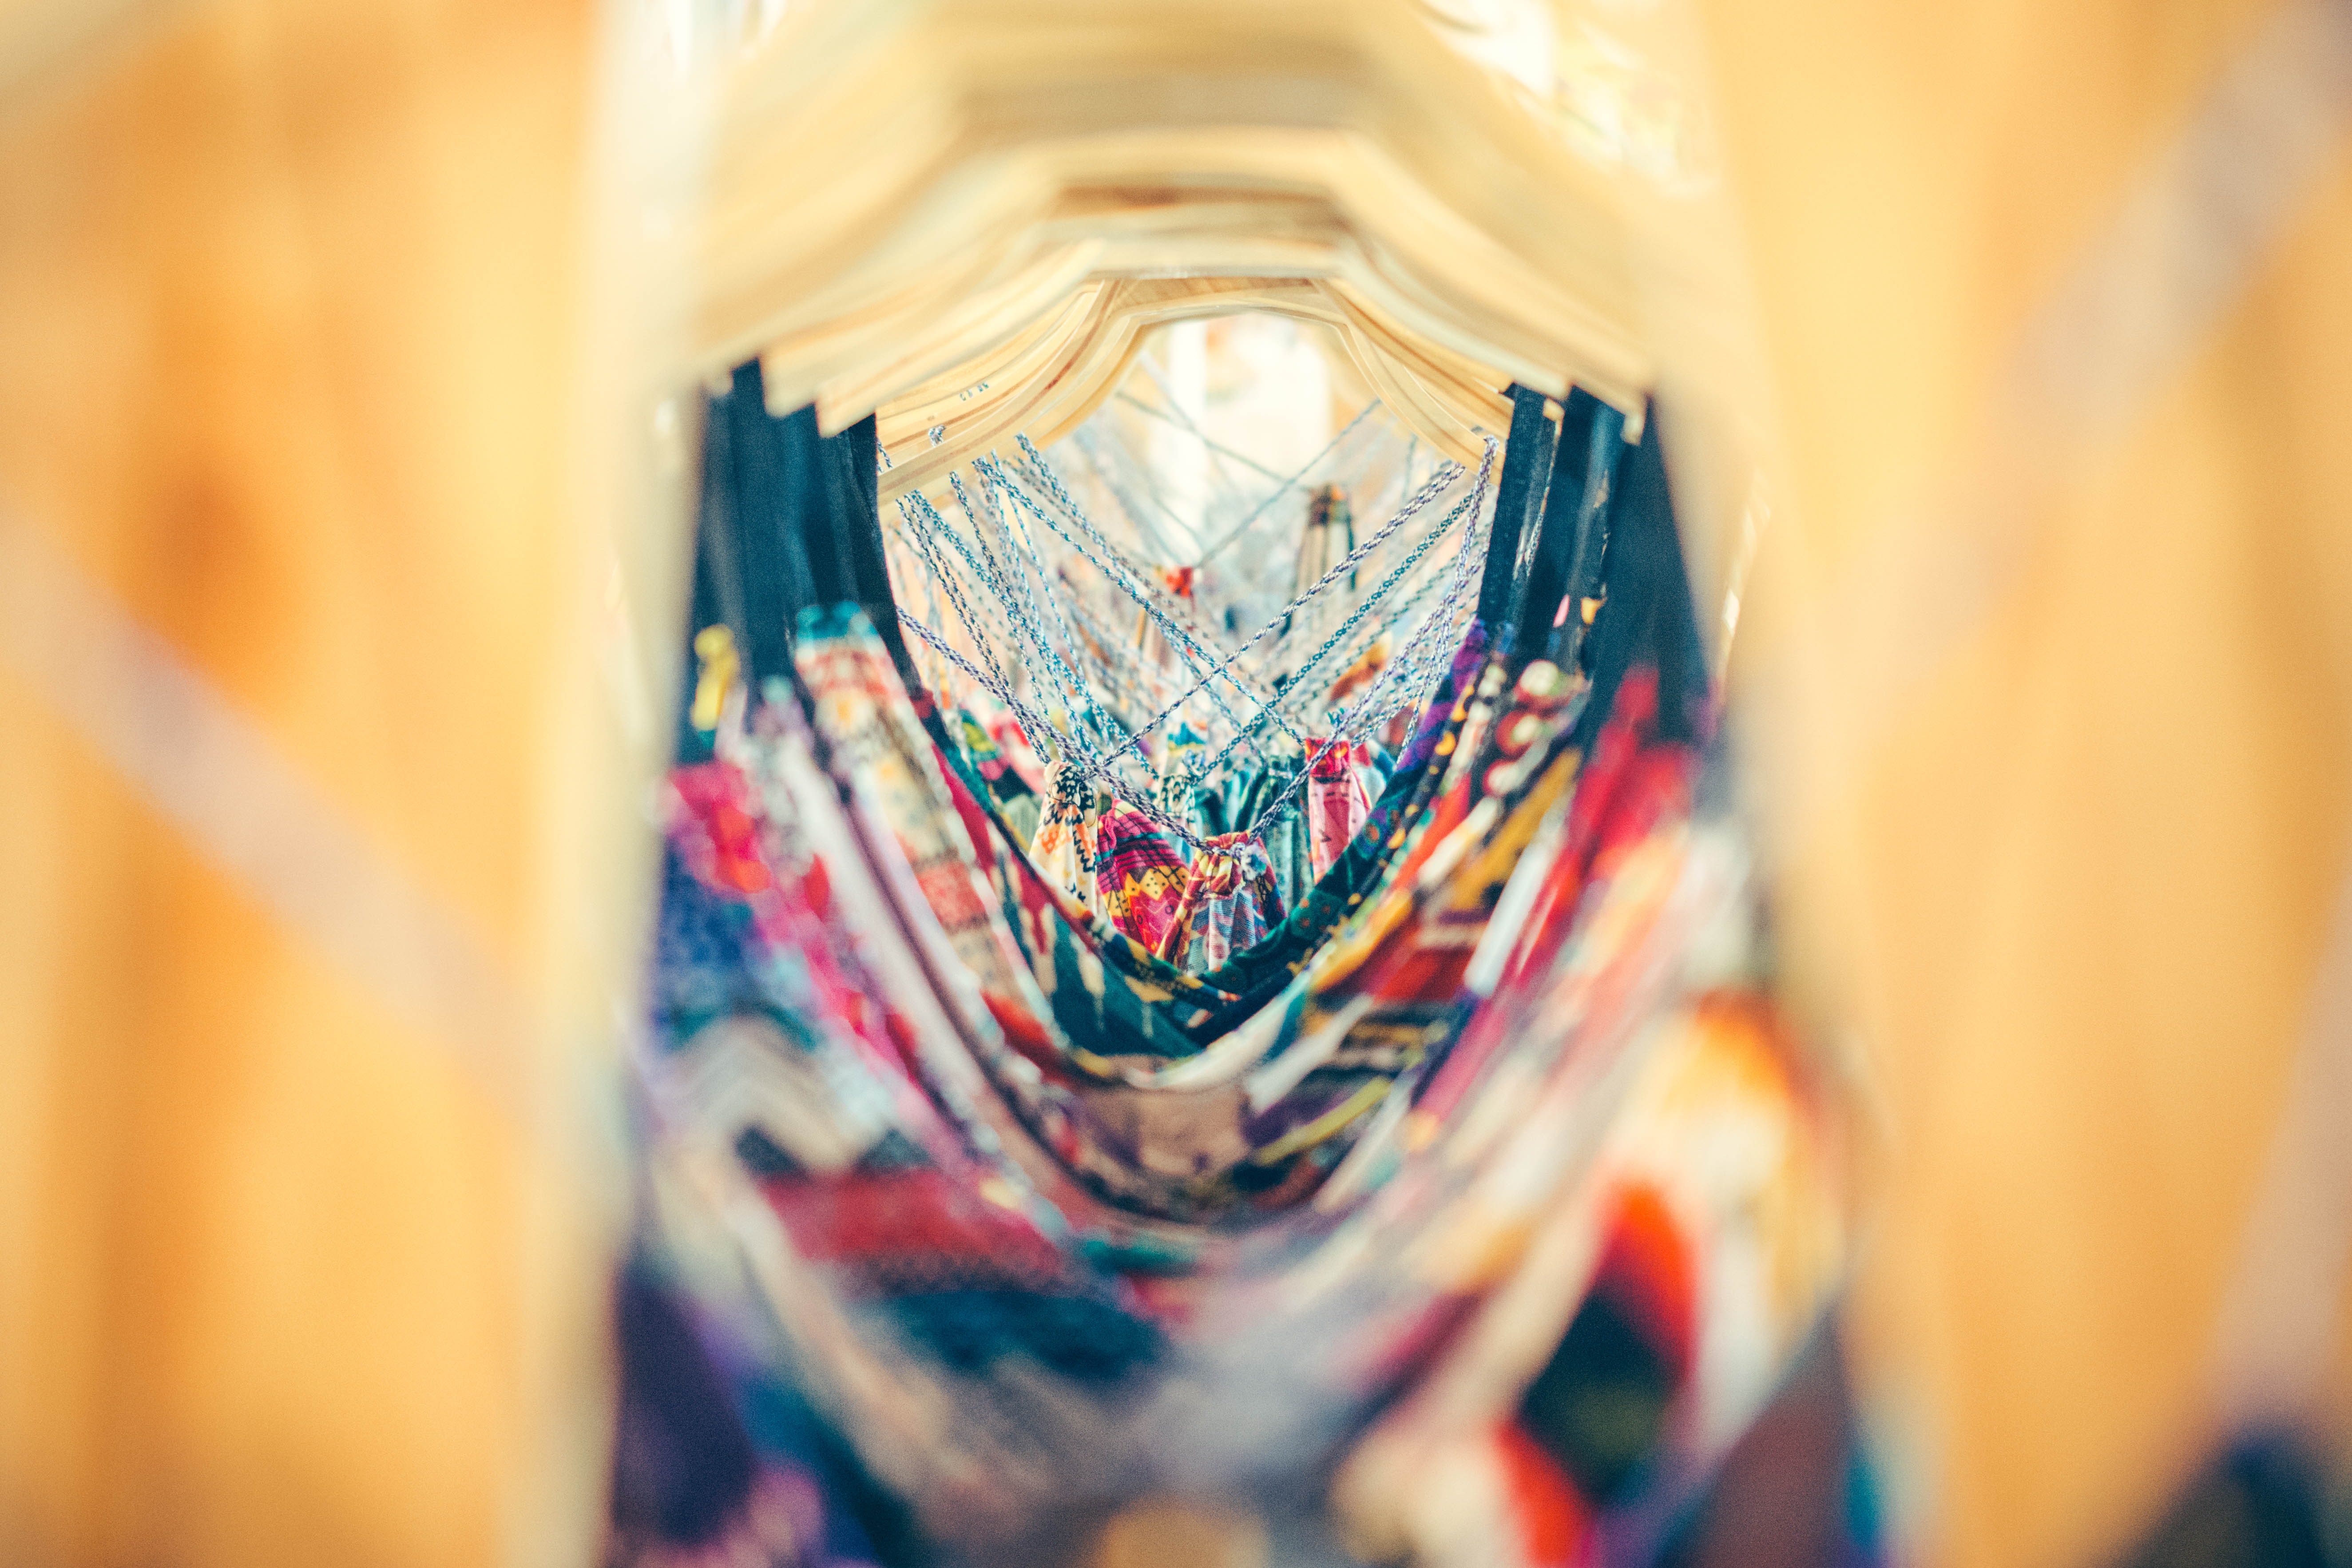
Adding textures

Experiment different colours and prints to compliment each other! You may get very impressive results with various textures. Throw them together and start snapping!
Some inspirations include knitted clothes, flatlay, products with the same prints, colour themed.
-
Depth of field
It is very important to make sure that you focused on the main subject. With an accurate depth of field, it shows the different depths of a photo. The subject should be highlighted clearly in the picture in order to add dimensions to your photo. It will be extremely crucial to the eyes as the message will be brought across clearly in a second. And that is really what you want to do, to capture attention in one second.
- Make the colours pop
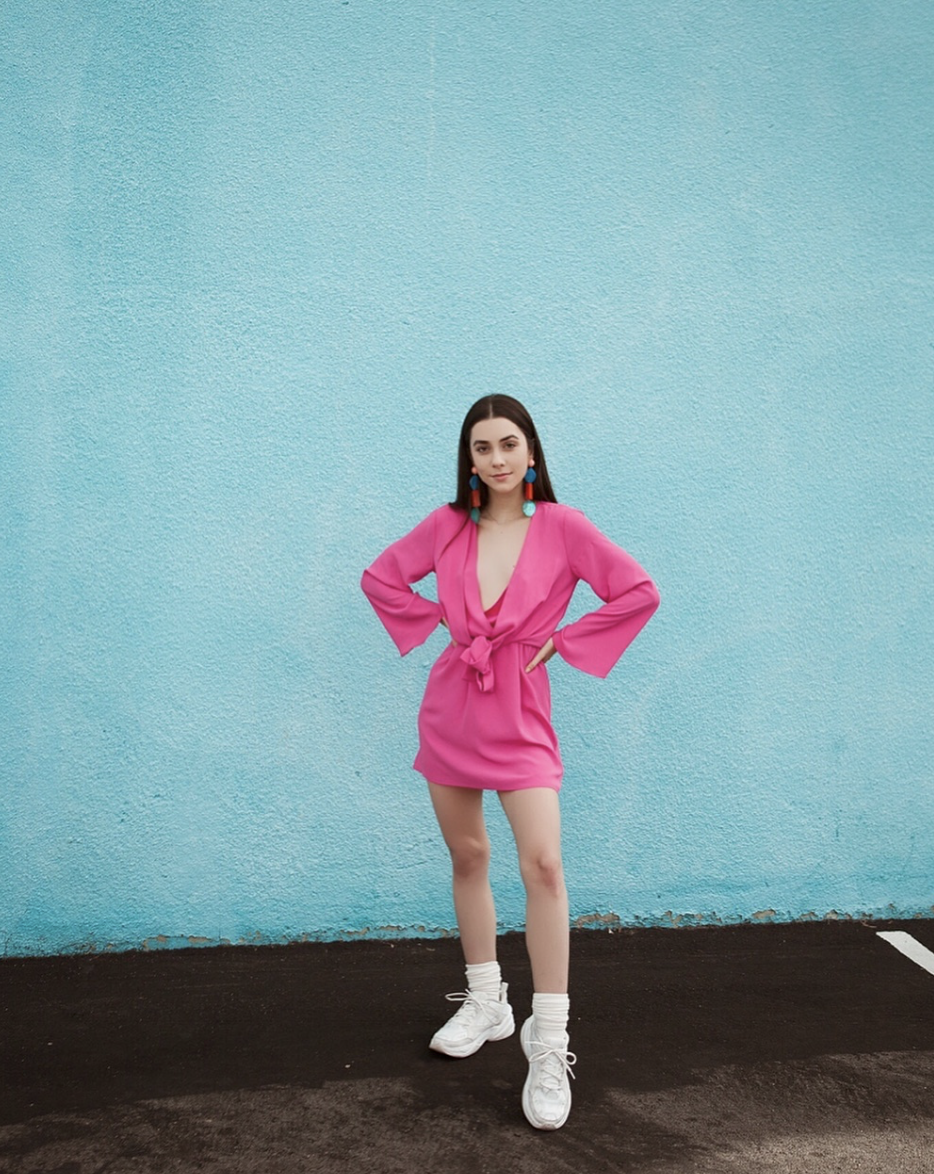
The best #ootd shots are all about finding the perfect balance with the colours in the photo. Be clear of what colour best contrast your skin colour/make up. Making the colours enhance your features is one very good tool. It is also about knowing how your body looks with the different angles. You will be pleased if you know your angles well enough. For example, the angle to snap when you are wearing heels in comparison to flats. Typically, the best angle would be from the bottom up so that you will look taller. Know your best facial angle let your photographer know in advance.
- Proportions and size
Every picture tells a story and it is not important to keep all the products in the photo in the frame. Play around with the composition and proportions! Do not fret over the petty things and focus on what the image is trying to convey.